 |
 |
 |
 |
 |
 |
 |
 |
 |
 |
 |
 |
 |
 |
 |
 |
|
7ozjqyvnt1u mini split air conditioner repair made clearYou want fast, reliable fixes and predictable results. This guide keeps you focused on what matters: clear symptoms, targeted checks, and the quickest path from problem to cool, dry, quiet air again. Spot the symptom, set the expectation
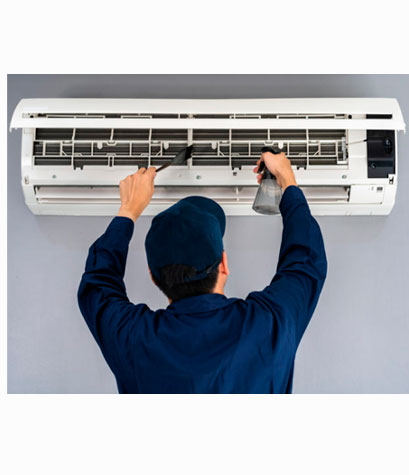
Safety and tools you'll actually usePower off at the disconnect before opening panels. If refrigerant work is needed, a licensed technician with recovery gear is required. For DIY maintenance: a soft brush, spray bottle with mild coil cleaner, fin comb (optional), microfiber cloths, a small hand vacuum, a drain flushing bottle, and a thermometer for supply air checks. Fast triage you can do todayAirflow firstPull the front panel and lift out the screens. Replace the filter - wait, that's not quite right for most mini splits; rinse the washable screens until water runs clear, dry, then reinstall. Research on residential systems shows that airflow restrictions can cut capacity by double digits; restoring flow improves both comfort and efficiency.
Drain and condensate
Electrical and controls
Refrigerant-side issues: what you can check, what to leaveYou can note symptoms - ice on the indoor coil, short cycling, or hissing at flares - but avoid gauges and "top-offs" unless certified. Proper service involves leak search (often nitrogen pressure + soap solution), precise flare inspection/retorque, evacuation to below 500 microns to boil off moisture, and weighing in charge to the nameplate (plus line-set adjustments). Field studies show that even small undercharges can lift energy use and reduce capacity; guessing rarely helps. Expectation → result (so you can validate the fix)
Real-world momentSaturday, late humidity spike. Your bedroom head flashes a quick code and airflow feels thin. You pop the cover, rinse the screens, brush the coil, and flush the drain. After a 10-minute cool call, the supply stabilizes near mid-50s °F and the room stops feeling clammy. Small actions, big result. Outdoor unit attention
Maintenance intervals, backed by field dataMonthly screen rinse during heavy use, seasonal indoor/outdoor coil checks, and annual deep cleaning keep capacity closer to rated. Studies on coil fouling report 10 - 25% capacity loss when neglected; cleaning recovers most of it. Expect steadier temperatures and lower runtimes after maintenance. What not to do
When to pause DIY and call a pro
Cost and time expectations (ballpark)Drain clean: quick and modest. Deep indoor/outdoor coil clean: moderate. Board replacement or leak repair with recharge: higher and variable by region and brand. The result to watch for in every case is simple - stable setpoint, quiet operation, and dry comfort. Myths, corrected
Quick validation checklist
If your expectation is a cooler, quieter room and the result doesn't match, step back to airflow, confirm drain, then consider a professional refrigerant-side assessment. Small, methodical checks beat guesswork every time.
|